Summer is an exuberant time of the year in the garden. It’s a time when everyone wants to get outside and make the most of the glorious displays that you’ve worked so hard to achieve through clever landscaping and variety of planting.
Unfortunately, no matter how hard you work to fill every inch of your garden there always seem to be a few bare patches that could do with filling, or unsightly garden regulars such as compost bins or log piles that could do with hiding. This is where a carefully planted summer pot is perfect for filling the gaps, adding bursts of extra colour or providing a bit of screening.
To get you started here are our tips for creating colourful summer pots that will bring additional bursts of interest and focal points to your garden.
General Tips
Before choosing your plants there are some basics to keep in mind to ensure a long-lived resplendent display:
- It is best to plant permanent specimens in early spring so that they will replenish rapidly, otherwise you can plant anywhere between early Spring and early Autumn.
- Plant summer-flowering plants, that are tender and susceptible to frost, in mid-late May
- Any containers that are for Winter interest should be planted in late summer to early Autumn
- If you’re reusing old pots, make sure to give them a quick clean before planting to get rid of any diseases that could spread to your new plants.
Containers
- If you are choosing a pot for use all year, it is wise to use a frost proof terracotta pot instead of a frost resistant pot. Frost resistant pots may still crack if temperatures are consistently low.
- You must ensure that your pots have adequate drainage to ensure that your plants do not become waterlogged.
- Avoid potting a plant that has a small root-ball into a large container, as the excess compost can become waterlogged and lead to root rot.
- Imitation terracotta (plastic, fibreglass e.g.) is very practical if you will be moving your plants around as it is lightweight.
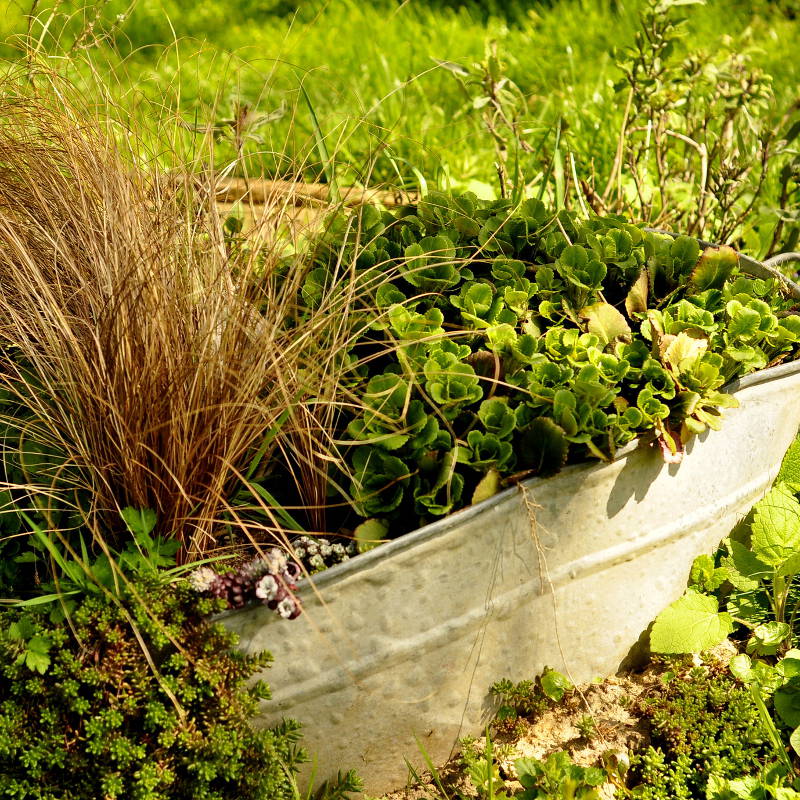
- For additional visual interest look out for unusual containers such as old buckets, sinks and tins that make a great alternative to traditional plant pots
Composts
Getting the right type of compost for your pots is important to ensure you plants get the correct levels of nutrients they need to put on a spectacular summer show. Potting compost is specially formulated for use in containers and hanging baskets and comes in a number of varieties:
- Multi-purpose, peat free compost – an environmentally friendly alternative to peat compost used for short term planting. It’s specially formulated for plants in pots and often contains water-retaining gel and slow release plant food to give your plants a helping hand throughout the growing season.
- Soil based composts – for permanent plantings or more mature plant in pots soil based composts, John Innes no. 3, are idea as they retain nutrients well. However, they will require additional drainage and will be too heavy for hanging baskets.
- Ericaceous compost – for lime-hating (and acid loving) plants such rhododendrons, camellias and plants typically from a heath environment.
Planting Your Containers
- Ensure you have adequate drainage material at the bottom of your pot
- Fill your pot with compost and leave ample room to arrange your plants
- Carefully remove your plant from its original pot by teasing the roots out gently
- Place your plant in its new pot and work the compost around the root balls, you don’t want to leave any air pockets
- Firm the compost around the plants and water well. Top up with compost if necessary
- Ensure there is a gap of about an inch between the soil level and the top of your pot, this will ensure that there is room for the water to settle in
Plant Pot Maintenance
- Deadhead your plants regularly to promote flowering
- Start feeding your plants around 4-6 weeks after planting
- Use a general purpose liquid feed unless your compost has a slow release fertiliser
- Water your plants at least once or twice a day
- Be careful not to over-pot
Next month we’ll be looking at choosing your plants for summer displays in part 2 of planting your summer pots.
These have been some tips and tricks to get your super summer pots started. If you would like further advice on how to get your garden into shape for summer please call Thames Valley Landscapes on 01628 629 720.